Pastels, designs, stickers and more: your guide to dyeing Easter eggs
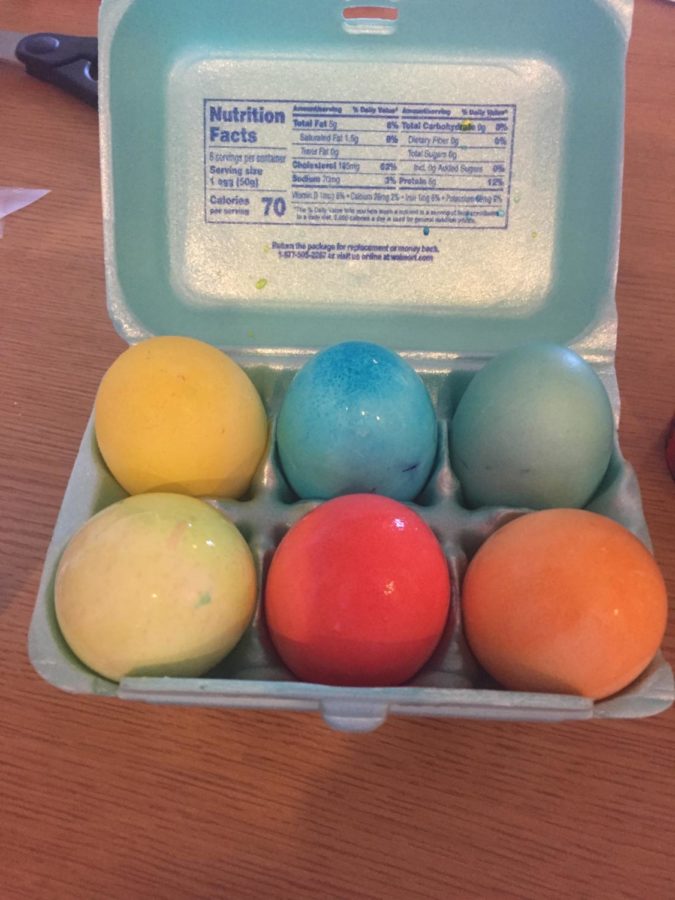
IMG_3096.jpg
March 29, 2018
With Easter coming up on Sunday and family and friends coming together for new and old traditions, one tradition remains a staple of the spring: dyeing Easter eggs.
While dyeing Easter eggs can be a messy task, it can be made fun through fun colors, putting stickers on eggs and drawing on eggs with white crayon to bring out a specific design on an egg.
If you’re looking to bring back that bit of childhood and dye eggs before the holiday, here’s a step-by-step guide on how to dye eggs in a relatively mess-free manner.
What you’ll need:
1 tbsp white vinegar
1/2 cup room temperature water
Easter egg dyeing kit
Step 1
Fill a cup or bowl with 1/2 cup of room temperature water and 1 tbsp of white vinegar. Take a colored tablet from the egg dyeing kit, drop it in the water and wait for it to dissolve.
Step 2
Take an egg and place it in the bowl or cup using the egg holder from the dyeing kit. Let sit in water for five minutes or more. Remember — the longer the eggs sit in the dye, the deeper the color will be!
Step 3
Using the wire egg holder, take eggs out of the water and place either in a drying tray or in an egg carton (a drying tray should come in the egg dyeing kit, depending on which kind you purchase). Let eggs dry.
Step 4
Have some fun with the eggs you have just dyed! If they come in the kit, throw some flower or spring-themed stickers on the eggs. For eggs that aren’t simply solid color, draw a pattern on the eggs before you dip them in the dye. The dye will not adhere to the area that has crayon, and the design that you have drawn will show up.