How to change a flat tire
February 25, 2016
Sooner or later, it’s bound to happen to anyone. You’re driving down the highway on your way home singing along to the newest Taylor Swift song, and all of a sudden a big “POP!” The car pulls to one side and the dreaded noise occurs, “flap flap flap.” Guess what, your tire just went flat, what are you going to do next?
Most people nowadays have roadside assistance that with the dial of a number, will come change the tire for you, but it is always smart to know how to do it yourself. Flat tires are a fairly common occurrence, and manufactures have worked to make it simple enough that anyone can do it.
Before you Start:
Before you go on a road trip, always have your car serviced by a reputable shop. Part of the service should include a tire inspection.
Make sure your tires always have the correct pressure. This can be done with a simple tire gauge, or if you don’t have one, most gas stations come equipped with a tire filling station which should have a built in gauge.
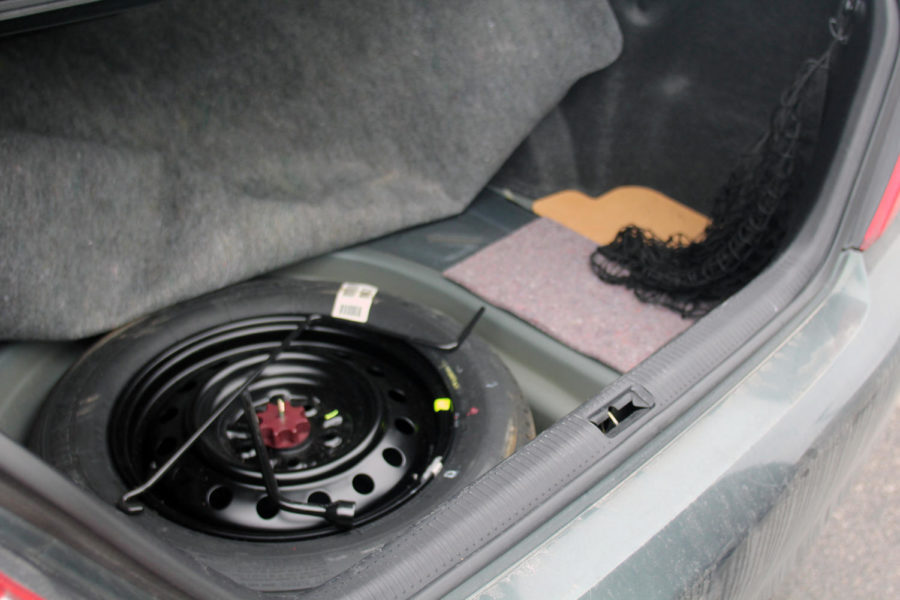
Familiarize yourself with the location and condition of your spare tire, jack, tire iron and any other tools that are included.
Optional Items
In addition to the tools that come equipped in your vehicle, these are some essential items that will make your tire changing experience a little less stressful:
Flashlight
Gloves
Tarp or mat to kneel on
Plastic Poncho
Tire gauge
Tire blocks
Changing a Flat Tire
These 9 simple steps will help you fix the problem and be back on the road in no time:
1. Find a safe spot to pull over. If you’re on the interstate, taking the nearest exit is the safest bet, even on a blown tire. Otherwise, pull off as far as you can to the shoulder of the road. Biggest thing is make sure you find the flattest spot you can because jacking up a car on a steep incline can end in disaster. If you have a manual transmission, leave your car in gear, and always make sure you engage your parking brake.
2. Turn on your hazard lights. Get the jack, wrench and spare tire from the trunk or underneath the car, depending on what your make and model is. If you have no idea, look in your owner’s manual or search it on the internet if you have a smartphone.
3. Use the wrench to loosen the lug nuts. Depending on what kind of wheels you have, you may have to remove the hubcap first. Important that you do not remove lug nuts until the tire is free from the ground; simply loosen them by turning the wrench counter-clockwise. When loosening the nuts, make use your body weight to break the nuts loose, this will save the strain you will get on your arms.
4. Use the jack to lift the vehicle off the ground. Make sure to consult your owner’s manual first to find out exactly where the lift points on your car are. Once the jack is securely in the correct spot, jack up the car until the tire spins freely or until you can fit the wrench underneath without obstruction.
5. Remove lug nuts and pull tire off the car. Make sure that once you remove the lug nuts that you put them in a place that they won’t scatter and get lost, if that happens your day just got a whole lot worse. Sometimes if the lug nuts were very tight the wheel can get stuck to the rotor, if this happens just hit along the tire until it pops lose.
6. Place the new spare on the car. Line up the lug nut posts with the holes on the spare and push until it is seated all the way. After this put on the lug nuts by hand, this is to avoid cross threading the nuts. Do not tighten all the way, just enough that the wheel is firm.
7. Lower car back onto the ground. Us the jack to bring the car back down. Once the car is completely lowered, remove jack.
8. Torque down lug nuts. Once the car is on the ground, use the wrench and your body to tighten the bolts in a star pattern. Make sure you tighten each bolt as far as you can to avoid the tire coming off later on down the road.
9. Put flat tire and tools back in trunk. Make sure that no tools or debris are left on the ground.
With these steps, if you ever find yourself with a flat on the side of the road, you now know how to put on your spare like a pro.