DIY projects to spruce up your apartment or dorm room
DIY Projects to Spruce Up Your Apartment or Dorm
March 28, 2014
After the long winter months everything seems to feel a little more gloomy and everyone is anxious for spring colors to come into play. The following three DIY crafts are really easy, completely affordable, and super fun to make! Enjoy making these crafts and use them to glam-up your dorm room or apart to create that spring and summer feel.
Paint Your Table Fan-
What you’ll need:
– Any size fan (preferably white)
– Red acrylic paint
– Blue acrylic paint
– Yellow acrylic paint
– Medium size paint brush
Step-by-step on how to do it:
1. Take apart the screen of the fan so that you have access to the blades. (May need a screwdriver for this part)
2. Now’s the fun part! Start by painting one of the blades with the blue acrylic paint. Make sure to cover the front of the blade completely and evenly (Allow about ten minutes for the paint to dry on each of the blades before moving to the next one).
3. Next, paint the second blade with the red acrylic paint, and then the third with the yellow acrylic paint. Again, make sure to paint the blades evenly, resulting in a smooth, sleek surface.
4. Once each of the blades are painted and completely dry, re-assemble the screen and voila! Your painted table fan is complete!
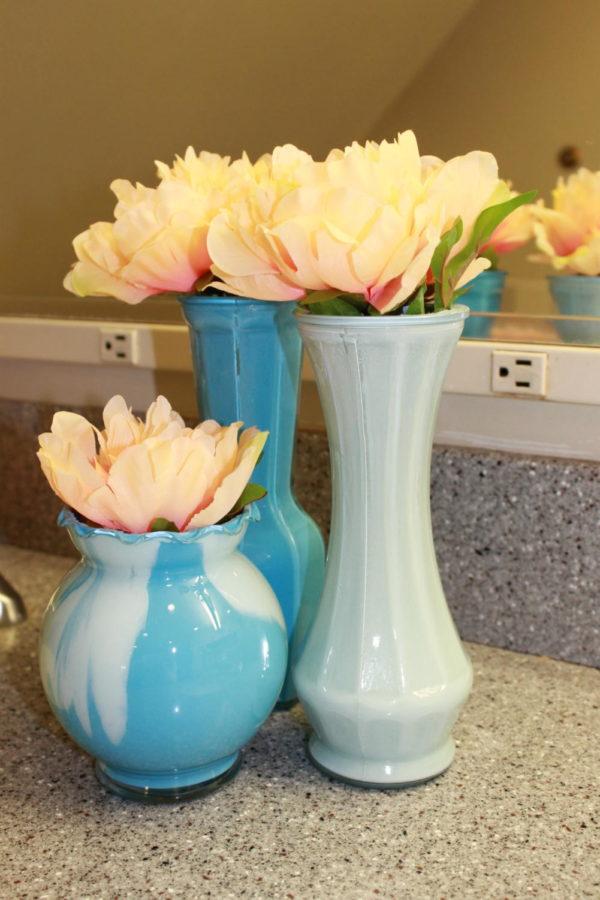
Painted Flower Vases-
What you’ll need:
– Clear glass vases (any size and however many you want to make)
– Dishwasher-safe enamel paint
– Small size paint brush (if needed to spread paint)
Step-by-step on how to do it:
1. Wash the bottle inside and out with soapy water. Then let dry.
2. Pour in a small amount of the paint’s surface conditioner, which primes the glass for enamel.
3. Swirl in enough enamel to easily coat the inside. Stand bottle upright, and dry for an hour.
4. Pour in enough enamel to easily coat the inside. Swirl, and return excess to container for reuse.
5. Dry bottle upside down on a paper towel for 48 hours, periodically wiping excess enamel from the rim with a damp cloth during the first hour.
Paint Sample Calendar-
What you’ll need:
– A frame (two nice options are 13.5 x 17.5 and 16 x 20. Either size will work great for this easy craft).
– Paint samples (any colors/ color scheme you wish to use)
– Poster board for the background (or a simple sheet of paper)
– Glue
– Straight edge, ruler, and a pencil if you’re a perfectionist like me!
– Dry erase marker (preferably black)
Step-by-step on how to do it:
1. Take your chosen paint sample colors and trim them to the size you want. Keep in mind you’ll need 7 colors to comfortably fit from left to right and that the labels for the days of the week will be smaller than the calendar days.
2. Trim your poster board to the size of the frame and glue your paint sample to it, however you desire.
3. Place your finished calendar inside the frame and use your dry erase marker to label the days and dates.


