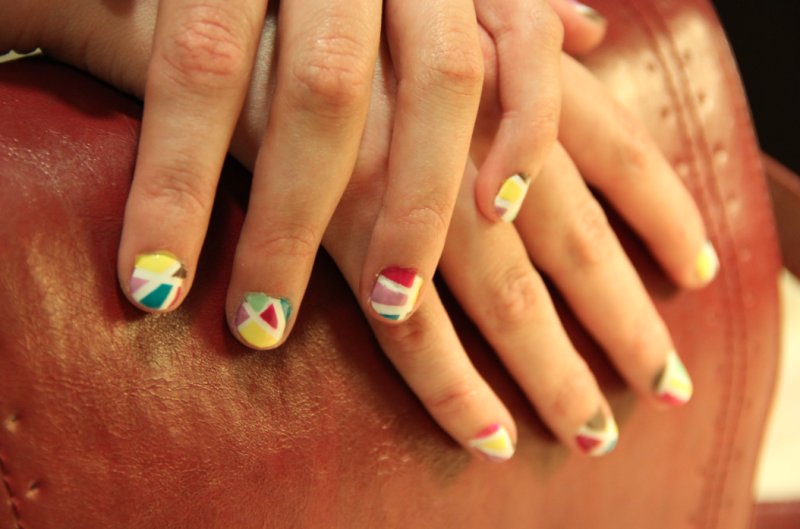
Nailing It: Cooling off summer’s hottest trend
Your nails are the canvas with easy nail art techniques.
August 19, 2012
We don’t know about you, but we’re excited to hit campus this fall. It’s one of the best times of the year to spot some new trends. And what are we seeing? Fresh and fun colors are in style this fall not only for your wardrobe, but also for your nails. Those ten or twenty spots of color may seem like a minor part of your whole ensemble, but if done well, they can be quite the conversation piece.
We’ve all done it: we sit on Pinterest for two hours looking at the stellar do-it-yourself projects that artsy people do so well. Maybe we’ll even pin a few for later, but never actually get around to them. And no matter what is typed in the search bar, pictures of crazy nail art always crop up, taunting with their ombré glitter and flashy, geometric patterns.
Even on the catwalk, it’s been revived by designers like Nicole Miller and Jason Wu at New York Fashion Week, but nail art has trickled down from couture to campus-chic. After much research and practice, we were able to conquer this complex craft to make our fingers fancy for fall. Student and manicurist Tram Dinh, sophomore in apparel, merchandising, and design, weighed in on the topic.
“It’s not easy, but as long as you have friends that you can practice on, then you will have no problem!” Dinh said. “Plus, who doesn’t want to get their nails done for free?”
Don’t get us wrong, we’re not quite pros yet. We can promise that if you’re artistically challenged like us, you can still pull this off with flying colors.
Here’s what you’ll need:
-3 to 7 nail polishes
-A top coat or clear coat
-Scotch Tape
-Scissors
Select your polish shades. We stuck to some of Pantone’s fall 2012 colors. There’s no need to buy expensive polish, and we’re loyal to Sinful Colors. They have a huge assortment of matte colors that hold really well, and let’s call a spade a spade: they’re one of the cheapest brands out there.
Pick a neutral color as your base and apply 1-2 coats on all nails. We recommend white to make the colors really pop.
Cut your tape into thin strips. Lay the strips down in whatever fashion you fancy to divide the nail into sections. Make sure the tape is sealed to your nail tightly. Dinh describes nail art as “another form of design and creativity,” so choosing your pattern is where you can really use your imagination.
Paint your colors into the un-taped sections as you desire. Wait until the polish is 100% dry before peeling off.
After peeling off your tape strips, apply a top coat to smooth the surface and hold the polish in place.
Look like a total champ and nail art whiz in your classes.
It’s really that easy. Now go ahead. Make a bold statement and impress your classmates. We know you want to.


