Want some anonymity? Make a mask
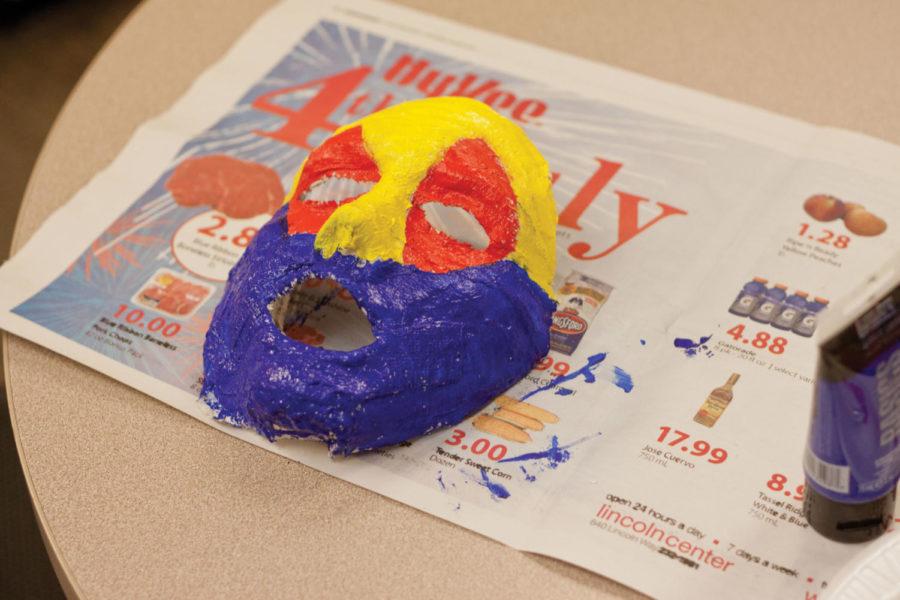
Photo: Jordan Maurice/Iowa State Daily
Masks are not only enjoyable to create, but also great accessories for a masquerade party.
August 3, 2011
People around the world love to wear masks. Masks let their wearers escape the scrutiny of others. They give people the confidence to act however they want. They are also quite easy to make. Here is a list of materials and a set of instructions that will help you make a mask.
Materials:
- Plaster cloth
- Petroleum jelly
- Water
- Scissors
- Newspaper
- Acrylic paint
- Card stock
- Sand paper
Directions:
1. Buy Supplies
You’ll need water, scissors and newspaper, which you’ll probably be able to find lying around the house. If you don’t have petroleum jelly, you can buy it at a retail store or drug store for less than $5. You will have to go to a craft store to buy plater cloth, which will cost you between $5 and $10.
2. Prepare work space
Making masks can be kind of messy. So you will want to cover your work space with newspaper to prevent damage to it. It is also a good idea to wear old or cheap clothing.
3. Decide what kind of mask you want to make
Masks come in all shapes and sizes. Before you start making your mask, you need to decide what kind you want. For instance, you can make a mask that covers your whole face, or a masquerade mask, which only covers a portion of your face.
4. Apply petroleum jelly to your face
After you decide how big you want your mask to be, begin applying petroleum jelly to your face. Cover the areas of your face that you want your mask to cover.
Additional tip: Make sure to coat your face well. If you don’t put enough petroleum jelly on your face, removing it will hurt.
5. Place plater cloth on your face
Cut your plaster cloth into strips. Dip two strips into water, and place these strips in an “X” formation, allowing the two strips to cross in the center of your face. Continue to dip strips of plaster cloth into water, and place these strips around your face, linking the “X” together. Coat your face with two or three layers of plaster strips.
6. Let plaster dry
You should let the plaster strips dry until your face begins to itch.
7. Remove mask
In order to remove your mask, you will need to stretch the skin of your face. You can do this by lifting your eyebrows and lowering your chin. As you do this, slowly pull your mask away from your face.
8. Decorate mask
After you remove your mask from your face, you can start to personalize it. You can do this by adding more plaster, painting it and adding embellisments.
If you want to paint it, first remove all rough spots by rubbing sandpaper on your mask. Then, apply a coat of clear acrylic paint. After the clear paint dries, begin painting your mask with the colors of your choice. When the paint dries, you can glue on additional decorations such as ribbons, jewels and pipe cleaners onto your mask.
9. Wear mask
After allowing everything to dry, slip on your mask and enjoy your anonymity!